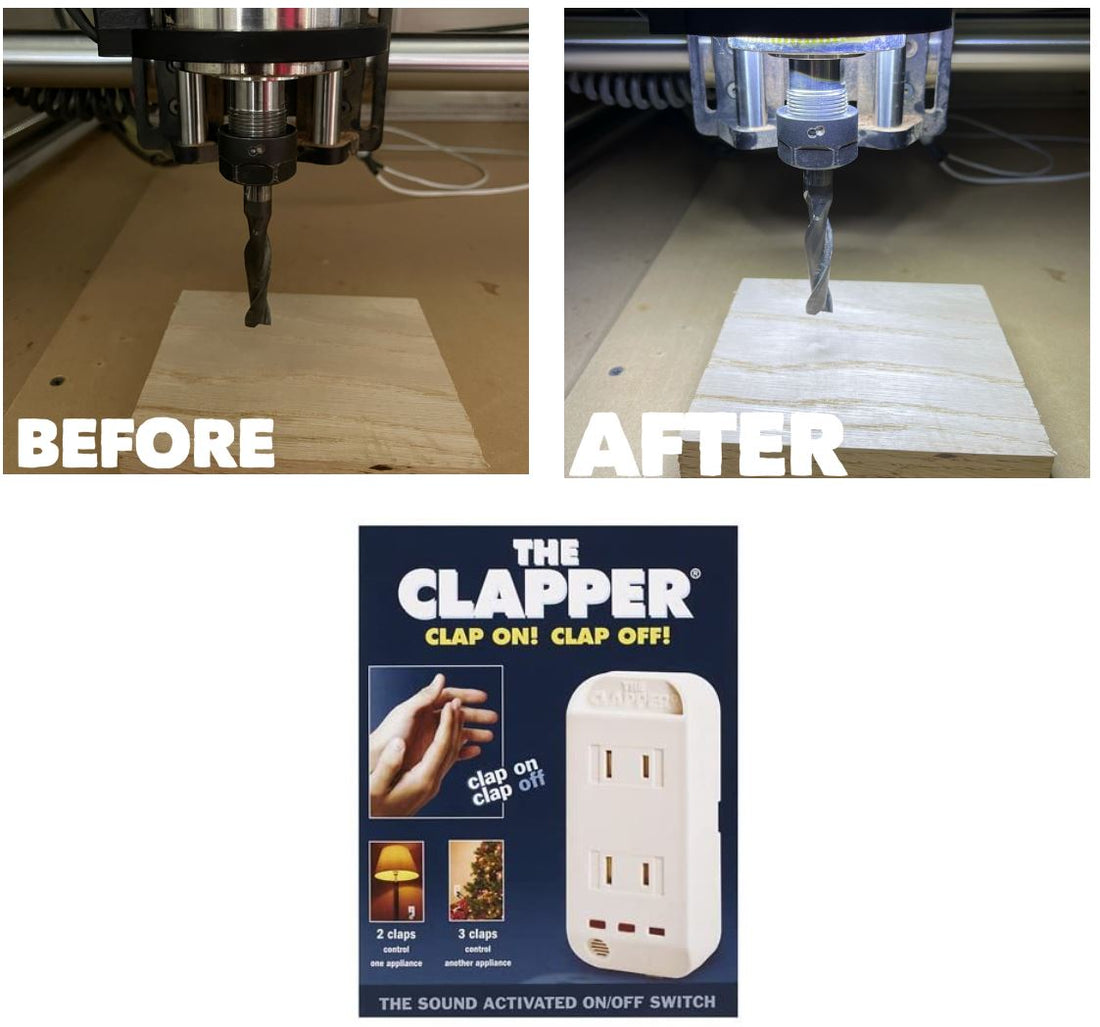
Here it is.....Squint no longer!!! Your Onefinity Router and Spindle light is here! No more trouble seeing your work area and zeroing your X,Y,and Z axis.

Here I will walk you through the steps of making your own router or spindle light. Below you will find links to tools and products I use to make these lights a reality.
- Lights 100mm (for 80mm Spindle) or 80mm (for 65mm Router)
- STL File to print: Rowdy Roman Etsy Shop
- Small Gauge Wire Strippers
- Soldering Iron with Helping Hands
- Solder
- Wire
- Heat Shrink 1/8" & 1/4"
- Lighter
- Power adapter
- Braided Cable Sleeve
- Fully Threaded M5x40mm Bolt
- M5 Rivet Nut
- Optional Clapper
This is actually a simple little wiring project that just requires some experience soldering wires. The rest is remembering to put heat shrink on your wire before you solder the wires and when to put the braided cable sleeve on. Even so I will still walk you through the steps.
First get all your tools and materials laid out for ease of access so that when you are trying to hold the cable sleeve while reaching for the lighter stuff does not go everywhere.
Second Your cord length does not have to be exact but you definitely want to have around 10" in total. Your transformer plug should come with around 5 feet so measure your wire out around 5 feet as well.
Third you will prepare your light and take off the hard plastic that covers the actual led round light strip. Also take off the foam adhesive on the back of the light strip. You will also want to unplug the wire at the white connectors. This will allow more movement while soldering.
Next strip your wires and slip on the 1/4" heat shrink over both wires than 1/8" heat shrink on to each individual wire and using the helping hands solder the wire together than slip the 1/8" heat shrink over each wire and use the lighter to shrink it. Than slip the 1/4" heat shrink over both 1/8" joints and repeat the process with the lighter.
Next slid the braided cable cover on your wires than slide the heat shrink over the braided cable cover. You will use the heat shrink to keep the braided cable cover in place. This will give it that professional look!
You will repeat this process just remember you will need to think ahead as to when to add the braided cable cover and the heat shrink.
Your last solder will be soldering your wires to the transformer plug after you snip the end off of the transformer plug to expose the bare wires. What I have found is some of the plugs do not have colored wires so you will have to do some trial and error to make sure your positives and negatives match up.
Hook this bad boy up to your Onefinity and plug it in to your clapper and viola you are done!!

